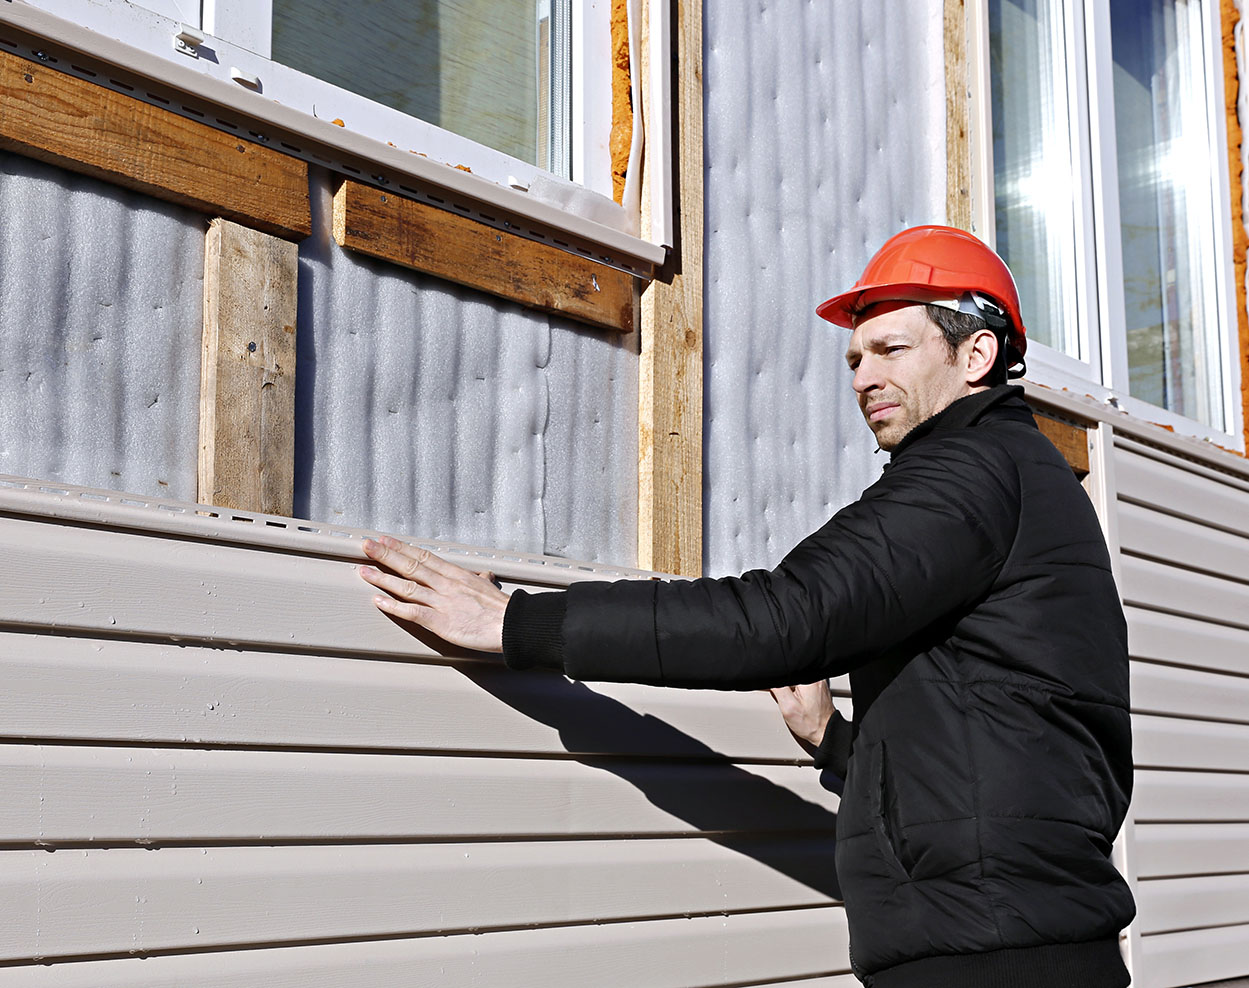
Insulated Siding for Better Insulation
Insulated siding for better insulation offers a compelling solution for homeowners seeking enhanced energy efficiency and curb appeal. This comprehensive guide explores the various types of insulated siding, their installation processes, long-term cost benefits, and environmental impact. We’ll delve into the specifics of each material, comparing R-values, durability, and maintenance requirements to help you make an informed decision for your home improvement project. From understanding the energy savings to navigating the installation process, we aim to provide you with a complete understanding of this valuable home upgrade.
This guide provides a detailed look at the various aspects of insulated siding, from choosing the right material to understanding the long-term return on investment. We cover everything from installation techniques and maintenance tips to the environmental benefits and aesthetic enhancements this upgrade can bring to your home. By the end, you’ll be equipped to confidently consider insulated siding as a practical and stylish improvement.
Types of Insulated Siding
Choosing the right insulated siding involves considering various factors, including budget, aesthetic preferences, and the climate. Different materials offer unique advantages and disadvantages in terms of insulation value, durability, and maintenance. This section will explore the prominent types of insulated siding, providing a detailed comparison to aid in informed decision-making.
Insulated Siding Material Comparison
The following table compares common insulated siding materials based on key characteristics. R-value represents the material’s resistance to heat flow; a higher R-value indicates better insulation. Cost is an average estimate and can vary significantly based on location, supplier, and installation complexity. Durability refers to the material’s resistance to damage from weather, impact, and wear. Maintenance requirements describe the ongoing upkeep needed to maintain the siding’s appearance and performance.
| Material | R-Value (per inch) | Cost (per square foot) | Durability | Maintenance |
|---|---|---|---|---|
| Vinyl | 1.0 – 1.5 | $3 – $8 | Moderate; susceptible to cracking and fading | Low; occasional cleaning |
| Fiber Cement | 0.5 – 1.0 (varies greatly depending on thickness and foam core) | $8 – $15 | High; resistant to fire, moisture, and insects | Moderate; occasional cleaning and repainting |
| Foam (Polyurethane or Polyisocyanurate) | 4.0 – 7.0+ (depending on type and thickness) | $10 – $20+ | Moderate to High (depends on cladding); susceptible to damage from impact | Low; typically requires minimal maintenance. |
Insulated Siding Installation Methods
Installation methods vary depending on the siding material. Vinyl siding typically involves nailing or clipping pre-fabricated panels directly onto existing sheathing or a furring strip system. Fiber cement siding often requires more precise cutting and fitting due to its rigidity, and may be installed using similar methods to vinyl or with specialized fastening systems. Foam-based insulated siding systems typically involve a more complex process that often requires specialized tools and expertise. The foam core is often adhered to the existing wall, then a cladding material is attached.
Architectural Styles and Siding Suitability
The choice of insulated siding can significantly impact a home’s aesthetic appeal. Vinyl siding, due to its affordability and availability in various colors and textures, is suitable for a wide range of architectural styles, from traditional to contemporary. Fiber cement siding, with its clean lines and durable nature, complements modern and craftsman-style homes. Its ability to mimic the look of wood or stone makes it versatile for various architectural designs. Foam-based insulated siding, due to its potential for larger panel sizes and custom finishes, can be effectively used in contemporary and modern homes, where clean lines and minimal detailing are valued. However, its suitability depends largely on the type of cladding used, allowing for diverse architectural expression.
Energy Efficiency Benefits
Insulated siding offers significant advantages in improving a home’s energy efficiency, leading to substantial reductions in energy consumption and lower utility bills. This enhanced performance stems from the material’s ability to act as a thermal barrier, preventing heat loss in winter and heat gain in summer.
The primary mechanism through which insulated siding reduces energy consumption is its inherent insulation properties. Unlike traditional siding, insulated siding incorporates a layer of insulating material, typically expanded polystyrene (EPS), extruded polystyrene (XPS), or polyisocyanurate (polyiso), directly within its construction. This layer creates a significant resistance to heat transfer, minimizing the amount of energy required to maintain a comfortable indoor temperature year-round. This results in less strain on your heating and cooling systems, leading to decreased energy usage and lower operating costs.
Impact of R-Values on Energy Savings
The effectiveness of insulated siding in reducing energy consumption is directly related to its R-value. The R-value is a measure of a material’s resistance to heat flow; a higher R-value indicates better insulation. For example, siding with an R-value of 7 will offer more resistance to heat transfer than siding with an R-value of 4. This translates to greater energy savings. A home retrofitted with higher R-value insulated siding will experience more pronounced reductions in heating and cooling costs compared to one using lower R-value siding. The specific energy savings will depend on factors such as climate, home size, and existing insulation levels.
Case Study: Energy Bill Comparison
Let’s consider a hypothetical case study of a 1,500 square foot home in a region with moderate winters and hot summers. Before insulated siding installation, the homeowner’s average annual energy bill was $2,000. After installing insulated siding with an R-value of 8, their annual energy bill dropped to $1,500. This represents a 25% reduction in energy costs, demonstrating the substantial savings achievable through this upgrade. This reduction reflects savings on both heating and cooling costs, with the magnitude of savings dependent on the seasonal climate conditions. A similar improvement could be seen in a colder climate, though the initial energy bill and the percentage reduction might differ.
Long-Term Cost Savings
The long-term cost savings associated with insulated siding extend beyond immediate reductions in energy bills. The improved insulation helps to protect the home’s interior from temperature fluctuations, reducing wear and tear on HVAC systems and potentially extending their lifespan. This translates into lower maintenance and repair costs over the siding’s lifetime. Furthermore, the increased energy efficiency can contribute to a higher home resale value, offering a return on investment beyond energy savings. Considering a 25-year lifespan for the siding, the cumulative savings from reduced energy consumption and maintenance costs can significantly outweigh the initial investment in insulated siding.
Installation Process and Considerations
Installing insulated siding requires careful planning and execution to ensure a long-lasting, energy-efficient exterior. Proper preparation and attention to detail are crucial for achieving a weathertight and aesthetically pleasing finish. This section outlines the installation process and addresses potential challenges.
Step-by-Step Installation Guide
The installation of insulated siding is a multi-step process that demands precision and adherence to manufacturer instructions. Variations exist depending on the specific siding type and building structure, but the general steps remain consistent.
- Preparation: Begin by thoroughly inspecting the existing wall surface for any damage, such as rot, cracks, or loose areas. Repair any imperfections using appropriate materials and techniques. Ensure the surface is clean and dry before proceeding.
- Underlayment Installation: Install a suitable underlayment, such as housewrap or weather barrier, over the prepared wall surface. This layer provides an additional layer of protection against moisture penetration and air infiltration. Overlap the seams properly and secure them with appropriate fasteners.
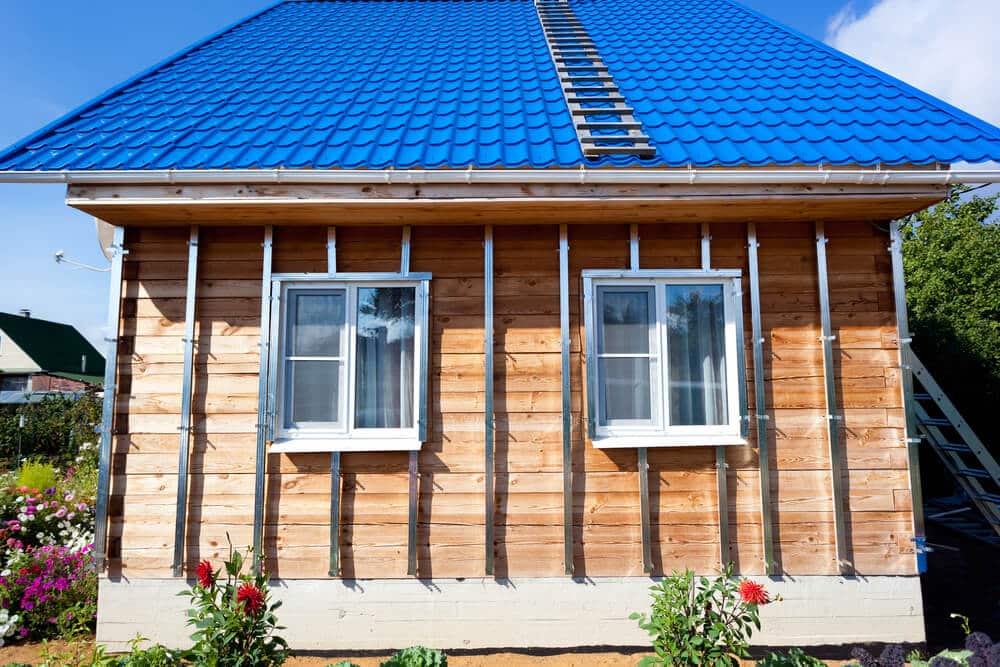
- Framing and Furring Strips (If Necessary): Depending on the existing wall structure and the type of insulated siding, furring strips might be necessary to create a level surface for installation and to accommodate the thickness of the siding. These strips are attached to the wall using appropriate fasteners, ensuring they are level and plumb.
- Siding Installation: Start installing the insulated siding panels at a corner or other designated starting point, following the manufacturer’s instructions for overlapping and fastening. Use appropriate fasteners to securely attach the panels to the wall or furring strips, avoiding over-tightening which could damage the panels. Ensure proper alignment and spacing between panels.
- J-Channel and Trim Installation: Install J-channels and other trim pieces around windows, doors, and corners to provide a neat and weathertight finish. These pieces ensure a clean transition between the siding and other building elements.
- Caulking and Sealing: Apply a high-quality exterior-grade caulk to seal all gaps and joints between the siding panels and trim pieces. This helps to prevent air and water infiltration, ensuring a weathertight seal.
- Final Inspection: Conduct a thorough inspection of the completed installation to ensure all panels are properly aligned, fastened, and sealed. Address any imperfections or issues before moving on.
Potential Installation Challenges and Solutions
Several challenges can arise during insulated siding installation. Understanding these potential issues and their solutions is vital for a successful project.
- Uneven Wall Surfaces: Uneven walls can make it difficult to install siding panels straight and create gaps. Solution: Use furring strips to create a level surface before installing the siding.
- Difficult Weather Conditions: Extreme temperatures, rain, or wind can hinder installation and affect the quality of the work. Solution: Schedule installation during favorable weather conditions, and take appropriate precautions to protect the materials and the installed siding from the elements.
- Improper Fastener Placement: Incorrectly placed fasteners can damage the siding panels or compromise the weathertight seal. Solution: Follow the manufacturer’s recommendations for fastener placement and spacing, and use the correct type and size of fasteners.
- Difficulties Cutting Panels: Cutting insulated siding panels to fit around corners or openings requires precision and the right tools. Solution: Use a sharp utility knife or other appropriate cutting tool to ensure clean, accurate cuts.
Importance of Proper Preparation and Underlayment
Proper preparation of the existing wall surface and the use of a suitable underlayment are crucial steps in ensuring a successful insulated siding installation. A well-prepared surface provides a stable base for the siding, while the underlayment acts as a moisture barrier and helps to improve the overall energy efficiency of the building envelope. Neglecting these steps can lead to problems such as moisture penetration, air leakage, and premature siding failure. For example, failing to address rotted wood before installation can lead to further deterioration behind the new siding, causing costly repairs down the line.
Best Practices for Ensuring a Weathertight Seal
A weathertight seal is essential for preventing moisture penetration and air leakage, which can lead to energy loss, mold growth, and structural damage. Several best practices can help ensure a weathertight seal:
- Use high-quality exterior-grade caulk to seal all gaps and joints between siding panels and trim pieces.
- Ensure proper overlap of siding panels and underlayment to prevent water penetration.
- Use appropriately sized and spaced fasteners to securely attach the siding panels to the wall or furring strips.
- Carefully inspect the completed installation for any gaps or openings that could compromise the weathertight seal.
Maintenance and Lifespan
Insulated siding, while offering significant long-term benefits, requires regular maintenance to ensure its longevity and continued effectiveness. The type of siding, its installation quality, and the prevailing climate all significantly impact its lifespan and the necessary upkeep. Understanding these factors is crucial for maximizing the investment and preserving the aesthetic appeal of your home.
Maintenance for Different Insulated Siding Types
Different insulated siding materials demand varying maintenance approaches. Vinyl siding, for example, is relatively low-maintenance, typically requiring only occasional washing with soap and water to remove dirt and grime. However, more rigorous cleaning might be needed in areas with heavy pollution or tree pollen. Fiber cement siding, while more durable, may require periodic painting to maintain its color and protect against weathering. It’s crucial to follow the manufacturer’s specific recommendations for cleaning and maintenance to avoid damaging the siding’s protective coatings. For instance, abrasive cleaners should generally be avoided as they can scratch the surface. Aluminum siding is also low-maintenance, but it can be susceptible to dents and scratches, which may require localized repairs.
Lifespan of Insulated Siding Under Various Climate Conditions
The lifespan of insulated siding is influenced by several factors, including the material type and the climate. In milder climates with moderate rainfall and temperature fluctuations, vinyl siding can last for 20-30 years or even longer with proper maintenance. Fiber cement siding, known for its durability, often boasts a lifespan exceeding 50 years under similar conditions. However, in harsh climates with extreme temperature variations, heavy snowfall, or frequent exposure to strong sunlight and UV radiation, the lifespan of all siding types may be shortened. For example, in regions with intense sun exposure, vinyl siding may fade or become brittle more quickly, potentially reducing its lifespan to 15-20 years. Similarly, in areas with heavy snowfall and freezing temperatures, fiber cement siding may be more prone to cracking if not properly installed.
Routine Inspection and Repair Checklist
Regular inspections are essential for early detection of problems. A yearly inspection is recommended, with more frequent checks in harsh climates. The checklist below outlines key areas to examine:
- Inspect all siding panels for cracks, dents, or damage.
- Check for loose or damaged caulking around windows and doors.
- Examine the flashing around chimneys and other roof penetrations for leaks.
- Look for signs of water damage, such as discoloration or mold growth.
- Verify the integrity of the fasteners securing the siding.
- Assess the condition of any trim or molding.
Addressing minor issues promptly can prevent them from escalating into costly repairs. For instance, promptly repairing a small crack in vinyl siding can prevent further damage from moisture intrusion.
Common Problems and Their Solutions
Several common problems can affect insulated siding. Water damage, often caused by improper installation or damaged flashing, can lead to rot and mold growth. Addressing this requires identifying the source of the leak, repairing the damage, and allowing the affected area to dry thoroughly. Another common issue is fading or discoloration, particularly in vinyl siding. This is often due to prolonged sun exposure and can sometimes be mitigated through cleaning or repainting. Finally, loose or damaged fasteners can cause panels to sag or become detached. Repairing this typically involves replacing the damaged fasteners with new ones. In all cases, consulting a qualified contractor for major repairs or if unsure about the solution is highly recommended.
Cost Analysis and ROI
Investing in insulated siding is a significant home improvement project, and understanding the associated costs and potential return on investment (ROI) is crucial for making an informed decision. This section provides a breakdown of expenses and demonstrates how to calculate the long-term financial benefits.
Cost Breakdown for Insulated Siding
The total cost of insulated siding installation varies considerably depending on several factors, including the size of your home, the type of siding chosen, regional labor rates, and the complexity of the installation. A detailed cost analysis should include materials, labor, and permits.
| Cost Component | Estimated Cost Range | Factors Influencing Cost |
|---|---|---|
| Materials (Siding, Insulation, Fasteners) | $5,000 – $15,000+ | Type of siding, house size, material quality |
| Labor | $5,000 – $15,000+ | Labor rates in your region, complexity of installation, project size |
| Permits | $200 – $1,000+ | Local building codes and regulations |
| Total Estimated Cost | $10,200 – $31,000+ | This is a broad range; accurate estimates require professional quotes. |
Calculating Return on Investment (ROI)
Calculating the ROI for insulated siding involves comparing the initial investment with the long-term savings on energy bills. This requires estimating your current energy consumption and projecting the reduction achieved through improved insulation.
The ROI formula is: ROI = (Net Savings / Initial Investment) x 100%
For example, assume an initial investment of $15,000. If the insulated siding reduces annual energy costs by $1,500, the annual ROI is (1500/15000) x 100% = 10%. Over a 10-year period, the total savings would be $15,000, resulting in a 100% ROI. This is a simplified example; actual savings will vary depending on factors like climate, energy prices, and home size.
Long-Term Cost Savings
The long-term cost savings from insulated siding primarily stem from reduced energy consumption for heating and cooling. This translates to lower monthly utility bills and potential increases in home value. The actual savings will depend on factors like climate, existing insulation, and the efficiency of your HVAC system. For instance, a home in a colder climate will experience greater savings on heating costs than a home in a milder climate. A well-insulated home may also qualify for energy efficiency rebates or tax credits, further enhancing the financial benefits.
Financing Options for Home Improvement Projects
Several financing options are available for homeowners undertaking projects like insulated siding installation. These include home equity loans or lines of credit (HELOCs), personal loans, and financing offered directly by contractors or home improvement retailers. Each option has its own terms, interest rates, and repayment schedules. It’s crucial to compare different options and choose the one that best suits your financial situation. For example, a home equity loan utilizes the equity in your home as collateral, often offering lower interest rates than personal loans. However, it increases your mortgage debt. A personal loan is unsecured and has a higher interest rate, but it doesn’t affect your home equity. Contractor financing may offer flexible payment options tailored to the project.
Environmental Impact
Insulated siding contributes significantly to a home’s overall environmental footprint, both positively and negatively. The choice of material and installation practices play crucial roles in determining the net environmental impact. Reducing energy consumption through improved insulation is a key benefit, while the manufacturing and disposal of the siding itself must be considered.
Improved home insulation, regardless of the siding material, leads to reduced energy consumption for heating and cooling. This directly translates to lower carbon emissions from power plants, a major contributor to climate change. The extent of this reduction depends on factors such as climate, existing insulation levels, and the R-value of the new siding. For instance, a home in a cold climate upgrading from poorly insulated siding to high-performance insulated vinyl siding could see a substantial decrease in its annual carbon footprint, equivalent to removing several tons of CO2 from the atmosphere.
Environmental Impact of Different Insulated Siding Materials
The environmental impact varies considerably depending on the material used. Fiber cement siding, for example, often boasts a lower carbon footprint than vinyl due to its composition of natural materials. However, the manufacturing process of fiber cement can still involve energy-intensive steps. Vinyl siding, while widely used for its affordability, has a higher carbon footprint due to its reliance on petroleum-based plastics and the energy used in its production. Certain wood-based insulated sidings, if sourced from sustainably managed forests, offer a more environmentally friendly option, although their durability and maintenance requirements may vary. Metal sidings, such as aluminum or steel, present a different set of environmental considerations, with impacts related to metal extraction, processing, and transportation. A thorough life cycle assessment is needed for a comprehensive comparison of different materials.
Recyclability and Sustainability of Insulated Siding Materials
The recyclability of insulated siding materials varies greatly. Some vinyl siding manufacturers offer recycling programs, though the process and extent of recycling can be limited. Metal sidings are generally more easily recycled than other materials. Fiber cement siding is less readily recycled but can often be used as aggregate in construction projects. Wood sidings, particularly those from sustainably harvested sources, offer a degree of renewability, depending on responsible forest management practices. The sustainability of each option depends not only on its recyclability but also on the environmental impacts associated with its extraction, manufacturing, and transportation. For instance, the sourcing of wood from certified sustainable forests minimizes the environmental harm associated with deforestation.
Eco-Friendly Installation Practices
Eco-friendly installation practices minimize waste and pollution during the process. This includes careful planning to minimize material waste, using recycled or reclaimed materials where possible, and employing proper disposal methods for construction debris. The use of low-emission equipment and environmentally friendly adhesives and sealants can further reduce the environmental impact. Careful consideration should also be given to the disposal of old siding materials, with a preference for recycling or responsible disposal rather than landfilling. Contractors who adhere to sustainable building practices can play a significant role in minimizing the environmental footprint of insulated siding installation.
Visual Appeal and Design Options
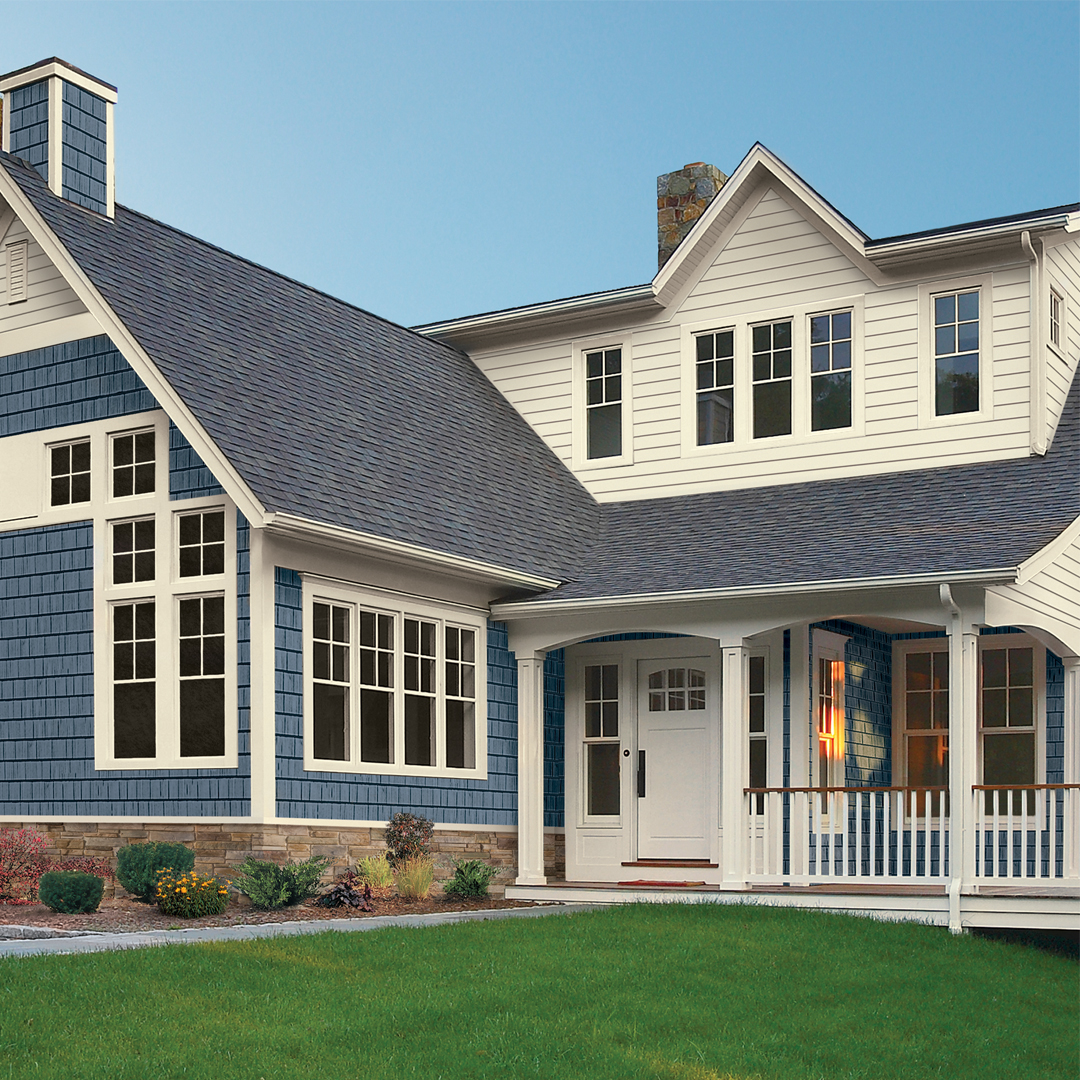
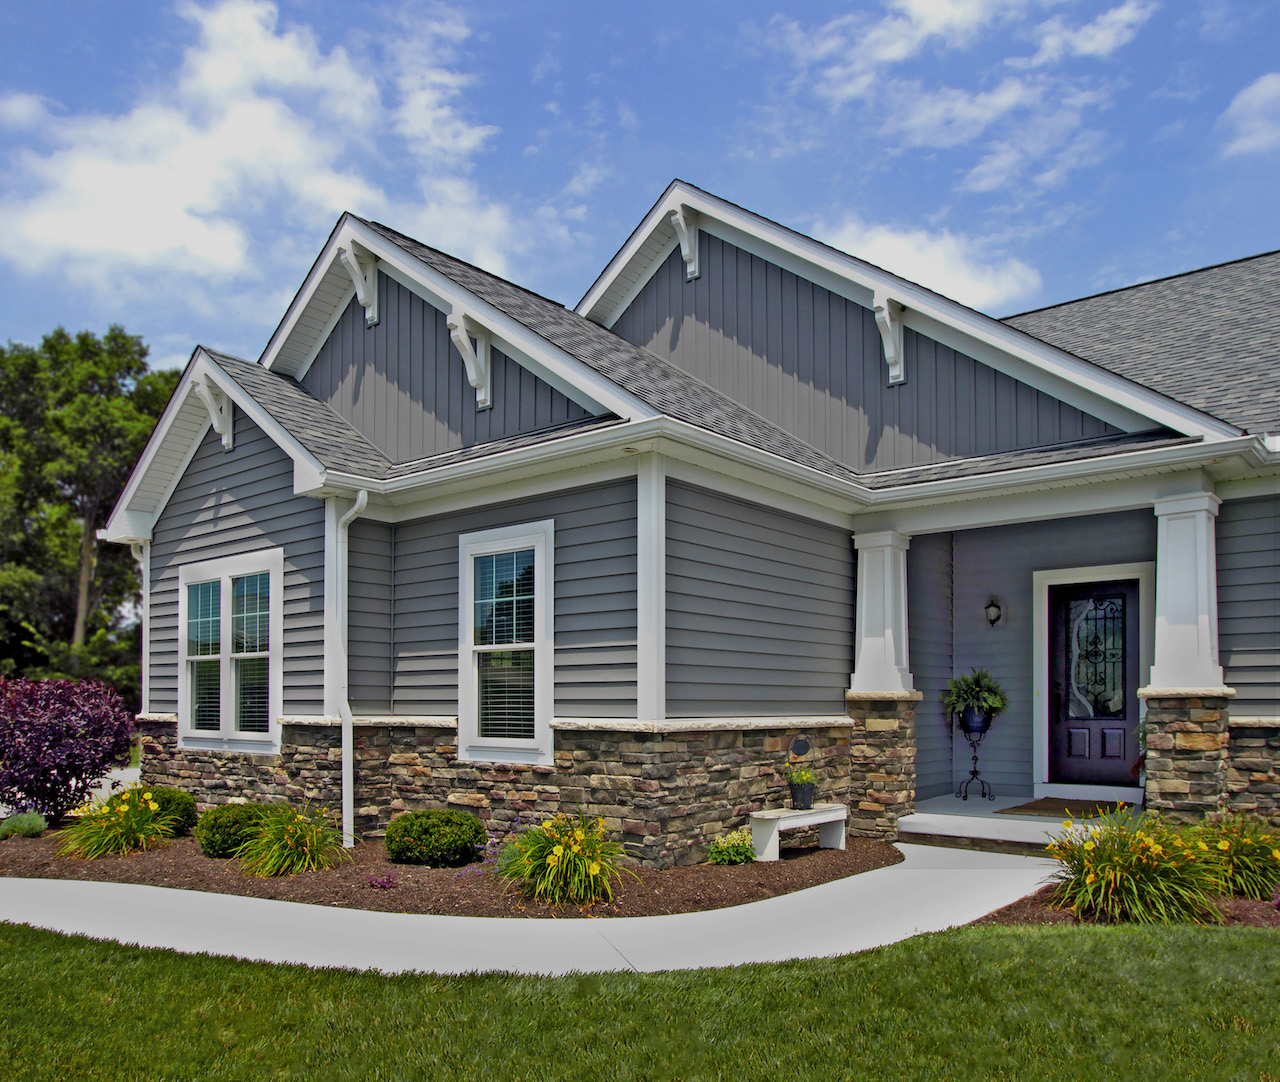
Insulated siding offers a compelling blend of functionality and aesthetics, providing homeowners with a wide array of choices to enhance their home’s curb appeal and overall visual impact. The diverse range of colors, textures, and styles available ensures that insulated siding can complement any architectural style, from traditional to modern. Careful consideration of these design options allows homeowners to create a truly personalized and visually stunning exterior.
The visual appeal of insulated siding is significantly enhanced by its versatility. Homeowners are not limited to a small selection of options; instead, they can choose from a wide palette of colors and a variety of textures to create a look that perfectly matches their personal style and the overall aesthetic of their home and neighborhood.
Color and Texture Options
The selection of colors and textures for insulated siding is extensive, allowing for a high degree of customization. This enables homeowners to express their personal preferences and to create a unique exterior for their homes.
- Colors: Insulated siding is available in a vast spectrum of colors, ranging from classic earth tones like beige, brown, and gray to more vibrant hues such as blues, greens, and reds. Many manufacturers offer custom color matching services, allowing homeowners to select a color that perfectly complements their existing landscaping or architectural details.
- Textures: Beyond color, the texture of insulated siding significantly contributes to its visual appeal. Options range from smooth finishes that evoke a modern, sleek aesthetic to textured surfaces that mimic the look of natural wood, stone, or stucco. These textured finishes add depth and visual interest to the exterior of a home.
- Styles: Different siding profiles, such as clapboard, shingle, or vertical panel, contribute to the overall style. Clapboard siding provides a classic, traditional look, while shingle siding offers a more rustic or cottage-style feel. Vertical panel siding, on the other hand, creates a clean, contemporary aesthetic.
Enhancing Curb Appeal
Insulated siding can dramatically enhance a home’s curb appeal through a combination of factors. The durability and longevity of the material ensure a consistently attractive exterior, while the variety of design options allows for a personalized look that reflects the homeowner’s style. Properly installed and maintained, insulated siding maintains its beauty for years to come, increasing the overall value and attractiveness of the property.
Examples of Insulated Siding Applications
The following descriptions illustrate how insulated siding can be used to enhance the visual appeal of different home styles. Note that these are descriptive examples and do not include actual images.
Example 1: A two-story colonial-style home features insulated vinyl siding in a warm, earthy brown tone. The clapboard profile creates a classic and timeless look, complemented by crisp white trim around the windows and doors. The overall visual impact is one of elegance and sophistication.
Example 2: A modern ranch-style home is clad in sleek, gray insulated fiber cement siding with a smooth finish. The clean lines and minimalist aesthetic of the siding are perfectly suited to the home’s contemporary architecture. The subtle texture of the siding adds depth without detracting from the overall modern feel. The overall visual impact is clean, modern, and sophisticated.
Example 3: A charming craftsman-style bungalow is accented with insulated cedar shake siding in a rich, dark brown hue. The textured surface of the shake siding adds a rustic, inviting feel that complements the home’s intricate detailing. The warm color creates a sense of coziness and blends beautifully with the surrounding landscaping. The overall visual impact is one of warmth, charm, and rustic elegance.
Last Word
Ultimately, the decision to install insulated siding involves weighing the initial investment against long-term energy savings, aesthetic improvements, and environmental benefits. By carefully considering the factors outlined in this guide—material type, installation process, maintenance needs, and cost-effectiveness—homeowners can make an informed choice that enhances both the comfort and value of their property. Investing in insulated siding is an investment in a more energy-efficient, visually appealing, and environmentally responsible home.
